Doing a non-toxic pedicure at home can be indulgent and relaxing…if you do it right!
By Diane Small
Not only is a pedicure a wonderful way to make your toes look gorgeous, it can also be a relaxing ritual. And dare I say? It can even be an expression of self-love.
I’m not just talking about changing your polish. I mean going all out! Think: soaking in a soothing foot bath, slathering on your favourite body lotion, and massaging each foot for as long as you can take it. Yum!
Sure, you can hit a salon for a pedi. And I certainly have.
But there are 4 main advantages to doing the perfect pedicure at home.
- It’s pretty much free.
- No one is going to accidentally cut too close to the quick of your nail, or cut not-dead skin on your cuticles (ouch!)
- You won’t be pressured to rush out of a salon. Which can ruin your pedi if it’s not 100% dry and you put on shoes!
- You can ensure your pedi is totally non-toxic.
Yep, that’s right – I said ‘non-toxic’. Because many nail polishes, varnish removers and body lotions are actually pretty bad for you. They’re full of harsh chemicals, some of which have even been linked to cancer. No one needs those kinds of products going on to their skin and nails!
So if you’d like to give yourself the ideal, indulgent non-toxic pedicure at home, grab a glass of wine (or cup of tea) and read on.
How To Do A Non-Toxic Pedi At Home

1. Gather stuff for your non-toxic pedicure at home
Before you set off on your at-home pedicure journey, make sure you have all the proper tools. You can decide how basic or fancy you want to get with your supplies, but in general, you’ll want to at least have the following:
- Non-toxic nail polish remover
- Foot file or pumice stone
- Nail file and clippers
- Foot or body cream
- Non-toxic nail polish (including base and top coat)
2. Prep your nails
If it’s time to get rid of that chipped, sad polish remaining from your last pedi, just do it! Remove every trace of colour with a cotton ball soaked in non-toxic nail polish remover. Acetone-free formulas are best! Hold it down on the nail for a few seconds before wiping.
Pro tip: If your nails are left with a yellow tinge, thanks to using darker polishes like blue or black, just rub cuticle oil over the surface.
3. Remove dead skin
Now that your feet are naked, make them even more so by scraping off all the dead skin on your heels and the balls of your feet. Just use a foot file or pumice stone. Though some think this should be done AFTER a soak, we disagree. You’re less prone to tearing or over-exfoliating dry skin.

4. Trim & shape your nails
The next step of your non-toxic pedicure at home is to whip your toenails into shape. Reach for classic nail clippers to trim and cut your nails. Then, file them into shape, making sure there are no ragged edges.
Pro tip: Notice some fungus? Try Kerasal‘s 3-in-1 Nail Care Kit! It’s a strategic solution designed to kill fungus around the nail, prevent it from reoccurring, and start improving nail appearance in just 2 days. This comprehensive kit helps customers handle frustrating fungal damage effectively, allowing them to flaunt their summer footwear with confidence.
5. Get soaking
Now it’s time to make that non toxic home pedicure a bit luxurious. If you’re doing this in the bath, light some candles and incense. If you’re using a foot tub (recommended!), turn on the highest massage setting while you enjoy your fave Netflix show. Make sure the water is nice and hot. Add some Epsom salts, magnesium, or fulvic acid to allow for a great detox. And soak and relax till the water isn’t pleasant anymore.
Once. you get out, dry your feet and push the cuticles of your nails back with an orange stick.
6. Massage your feet
The best part of a non-toxic pedicure at home? The massage! (And if you used that foot tub…well, this is bonus massage time!)
With a foot cream or body lotion, begin massaging your toes, feet, and calves until, well, you wanna stop. Not only will this massage feel amazing, but it’ll also help hydrate your feet after all that scrubbing and soaking. Finish off by grabbing a cotton pad soaked with rubbing alcohol to clean the surface of each nail, removing any oily residue that could prevent your polish from sticking.

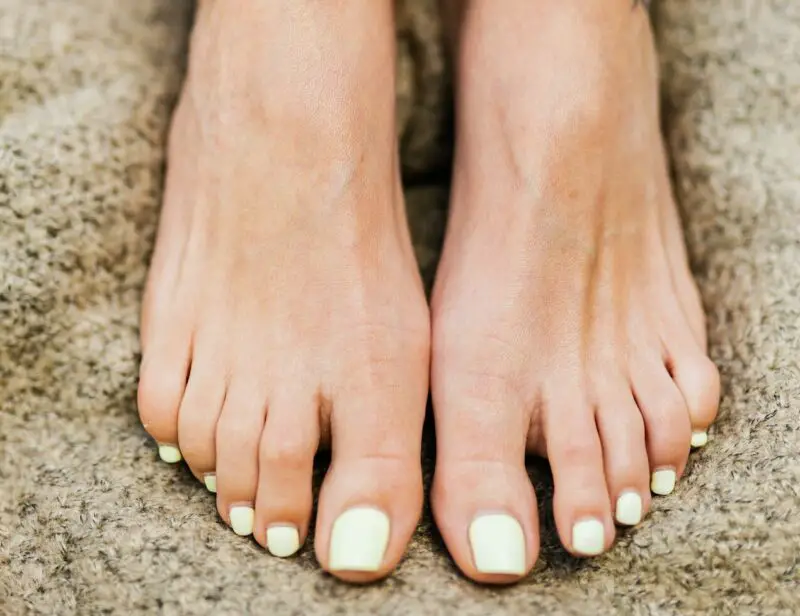
7. Paint your nails
If you have toe separators, go get ’em. Otherwise, tear off a piece of paper towel, rolling or twisting it into a rope, and weaving it through your toes to prevent the polish from smudging.
Start with a base coat, then apply two thin coats of your colour of choice. Let the varnish dry for a few minutes between each coat. Use an orange stick to clean up any mistakes.
Finish up with a top coat to preserve your work. But be sure it’s 100% dry – that means NO tackiness – before you put on socks or footwear!
Pro tip: Notice that your nails aren’t as pretty or as healthy as they used to be? Fake it til you make it with Kerasal Multi-Purpose Nail Repair Patches. These innovative adhesive patches deliver healthy-looking summer nails to consumers who can’t pinpoint their exact nail challenge– be it thickness, ridges, discolouration, brittleness, or gel damage.
So, that’s it! It’s easier to get a non toxic pedicure at home than you think. And cheaper, too!

- 5 Ethical European Vacation Ideas For 2025 - July 17, 2025
- 10 Easy Tips For A Plastic Free Beauty Routine - July 9, 2025
- Save the Bunny! China’s Cosmetic Cruelty - July 3, 2025